How to Measure Your Floor for Accurate Estimates
By Kalil Aycho
Date: July 15th, 2024 | 3 minute read

Accurate measurements are essential for any flooring project to avoid waste and ensure a perfect fit. This guide provides step-by-step instructions on how to measure your floor like a pro.
Things You'll Need
Tape or Laser measure
Graph paper or a digital measuring tool
Pencil
Calculator
Step by Step Guide
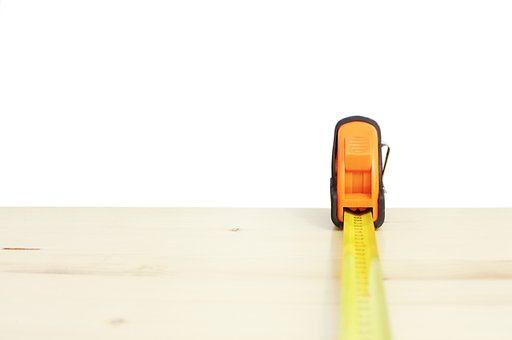
1. Measure the Length and Width: Start by measuring the length and width of the room. Use a tape measure for precise measurements, and record these on your graph paper or digital tool.
2. Calculate the Area: Multiply the length by the width to get the total area of the room. For example, a room that is 10 feet by 12 feet has an area of 120 square feet.
3. Include All Sections: If the room has alcoves, closets, or other sections, measure these areas separately. Add their areas to the total square footage.
4. Account for Waste: It's wise to add about 8-10% to your total measurement to account for cutting and fitting, especially if the room has an irregular shape or many obstacles.
5. Use Digital Estimator (if available): You may input your measurements into FloorFathom’s Instant Estimator tool to get a precise quote for your flooring project. This can help in budgeting and planning.
Tips for Irregular Rooms
Divide into Sections: For rooms with irregular shapes, divide the space into smaller rectangles or squares, measure each one, and then add the areas together.
Measure Twice: Always double-check your measurements to avoid errors.
In Summary
Accurate floor measurements are crucial for a successful flooring project. By following these steps and using tools like FloorFathom’s Instant Estimator, you can ensure precise estimates and a smoother installation process.